
In this guide, we will guide you through the process of integrating Airtable with Kodular to fetch and display data in a list view. This method can be a powerful way to manage and display dynamic content in your apps. Let’s get started!
Table of Contents
What You’ll Need?
- Kodular Account: Sign up at Kodular.
- Airtable Account: Sign up at Airtable.
- Airtable API Key: Obtainable from your Airtable account settings.
- Airtable Base and Table: Prepare your data structure.
Step 1: Setting Up Your Airtable Base
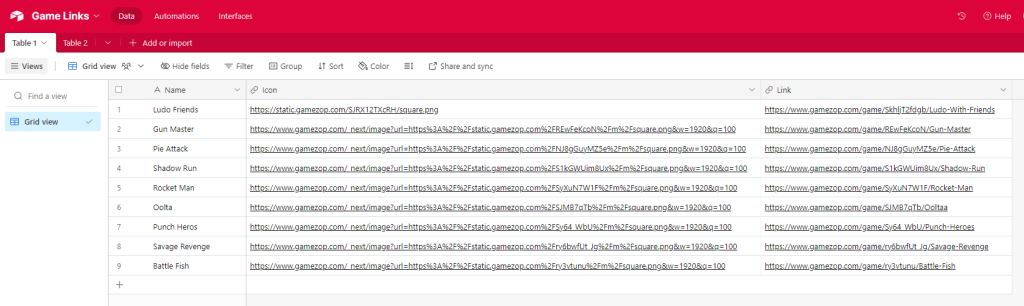
- Create a Base: Log into Airtable and create a new base. Let’s call it “Game Links”
- Create a Table: Inside your base, create a table. Name it “Table 1”
- Add Fields: Define the columns/fields you need.
- Populate Data: Enter some sample data into your table.
Step 2: Configuring Airtable API
Go to this page.
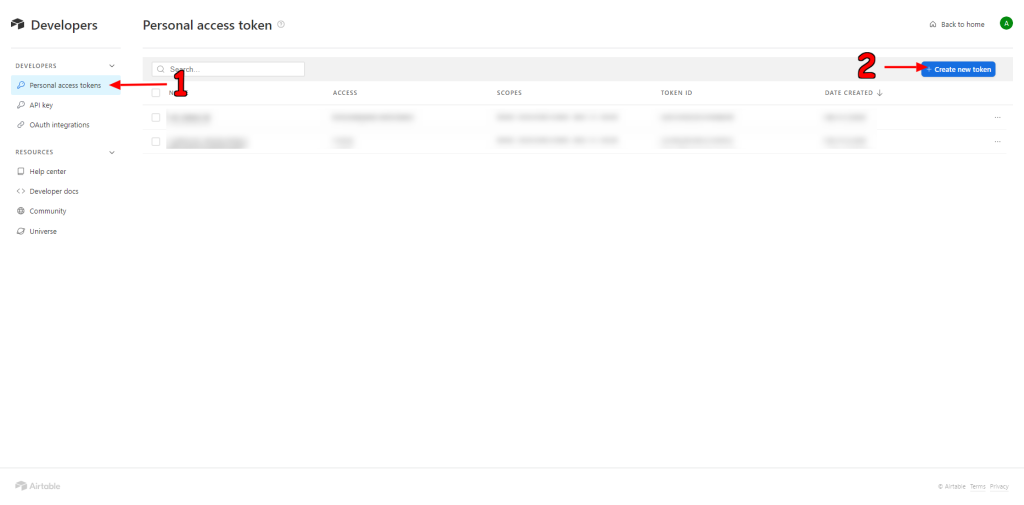
- Click On Personal Access Tokens on the sidebar
- Click on Create new token
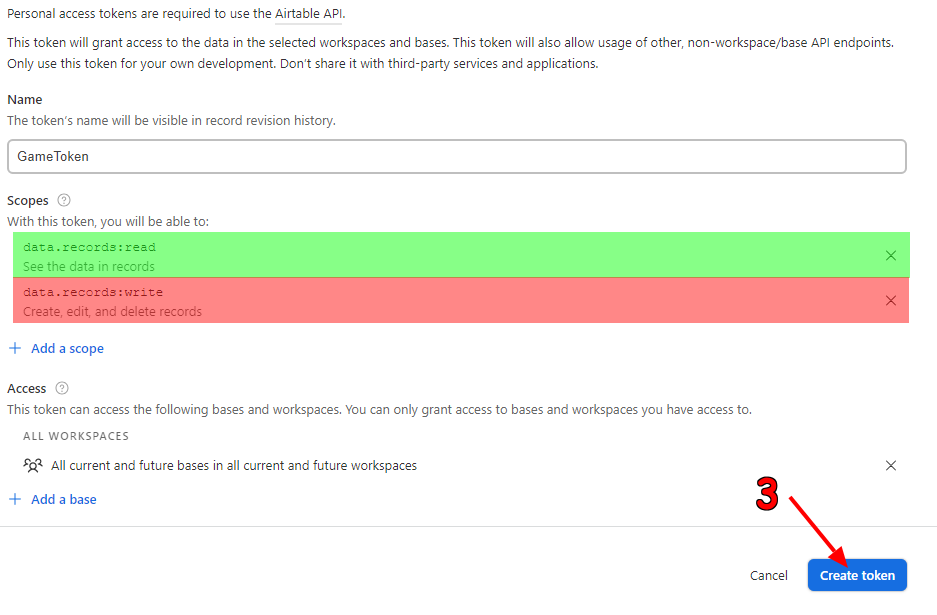
- Write the token name, set the read-write permission and then click Create.
- Copy the API key and save it in a safe place.
Step 3: Setting Up Kodular Project
- Create a New Project: Log into Kodular and create a new project.
- Add Components:
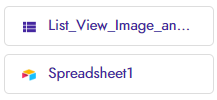
- ListView With Image Component: This will display your data.
- Spreadsheet Component: This will handle the API request to Airtable.
Step 4: Configuring Spreadsheet Component
- Paste the API key (that you saved in step 2), the base id and the table name in their respective field.
- Keep the view name parameter unchanged as we are dealing with Grid View only.
https://airtable.com/BASE_ID/tbl5VHFTob6tdahM6/viwl8EEEiXqBbVgQu?blocks=hide

Step 5: Getting & Showing Data From Airtable
| Name | Icon | Link |
|---|---|---|
| Name 1 | Icon 1 | Icon 1 |
| Name 2 | Icon 2 | Link 2 |
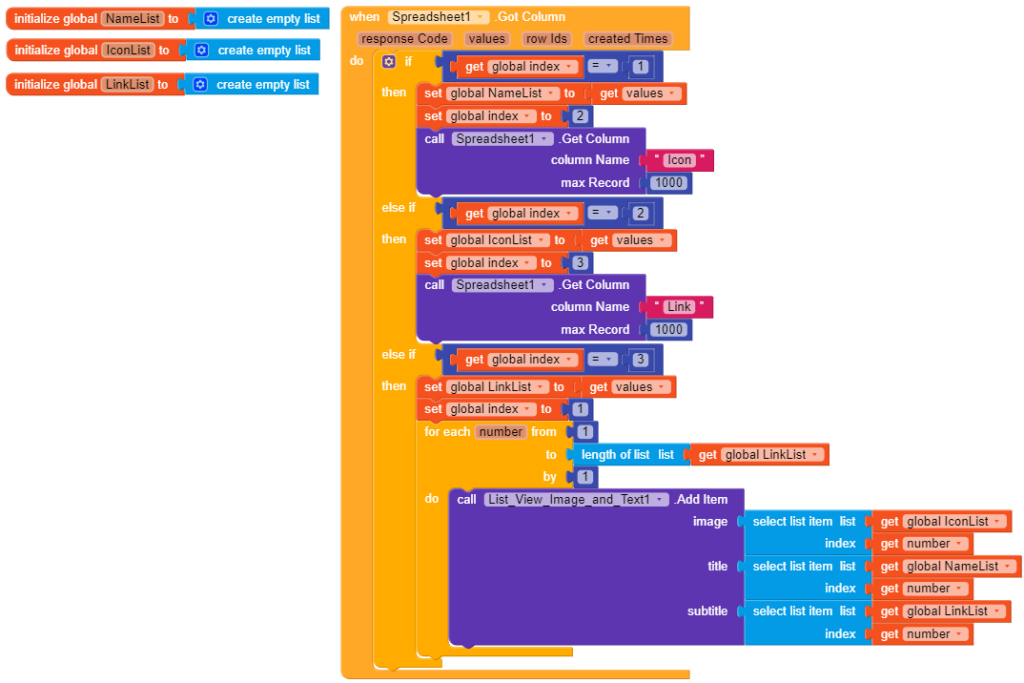
First, we will declare a global variable named “index”. You can name it anything. We will use this variable to get all the columns one by one.

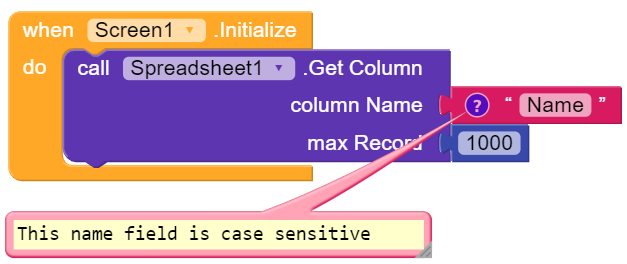
Then, on screen initialise, we will call the GetColumn block to get the first column, which is Name.
After we get the column, we will check if the index equals one, if the condition is satisfied, we will store the values that we got from the column in a new variable which we will name as NameList. Then we will increase the index value by one, and after that, we will call GetColumn again to get the value of the other column.
After we have got all the values we will then run a loop to add the item to the list view.
This is how our list view will look