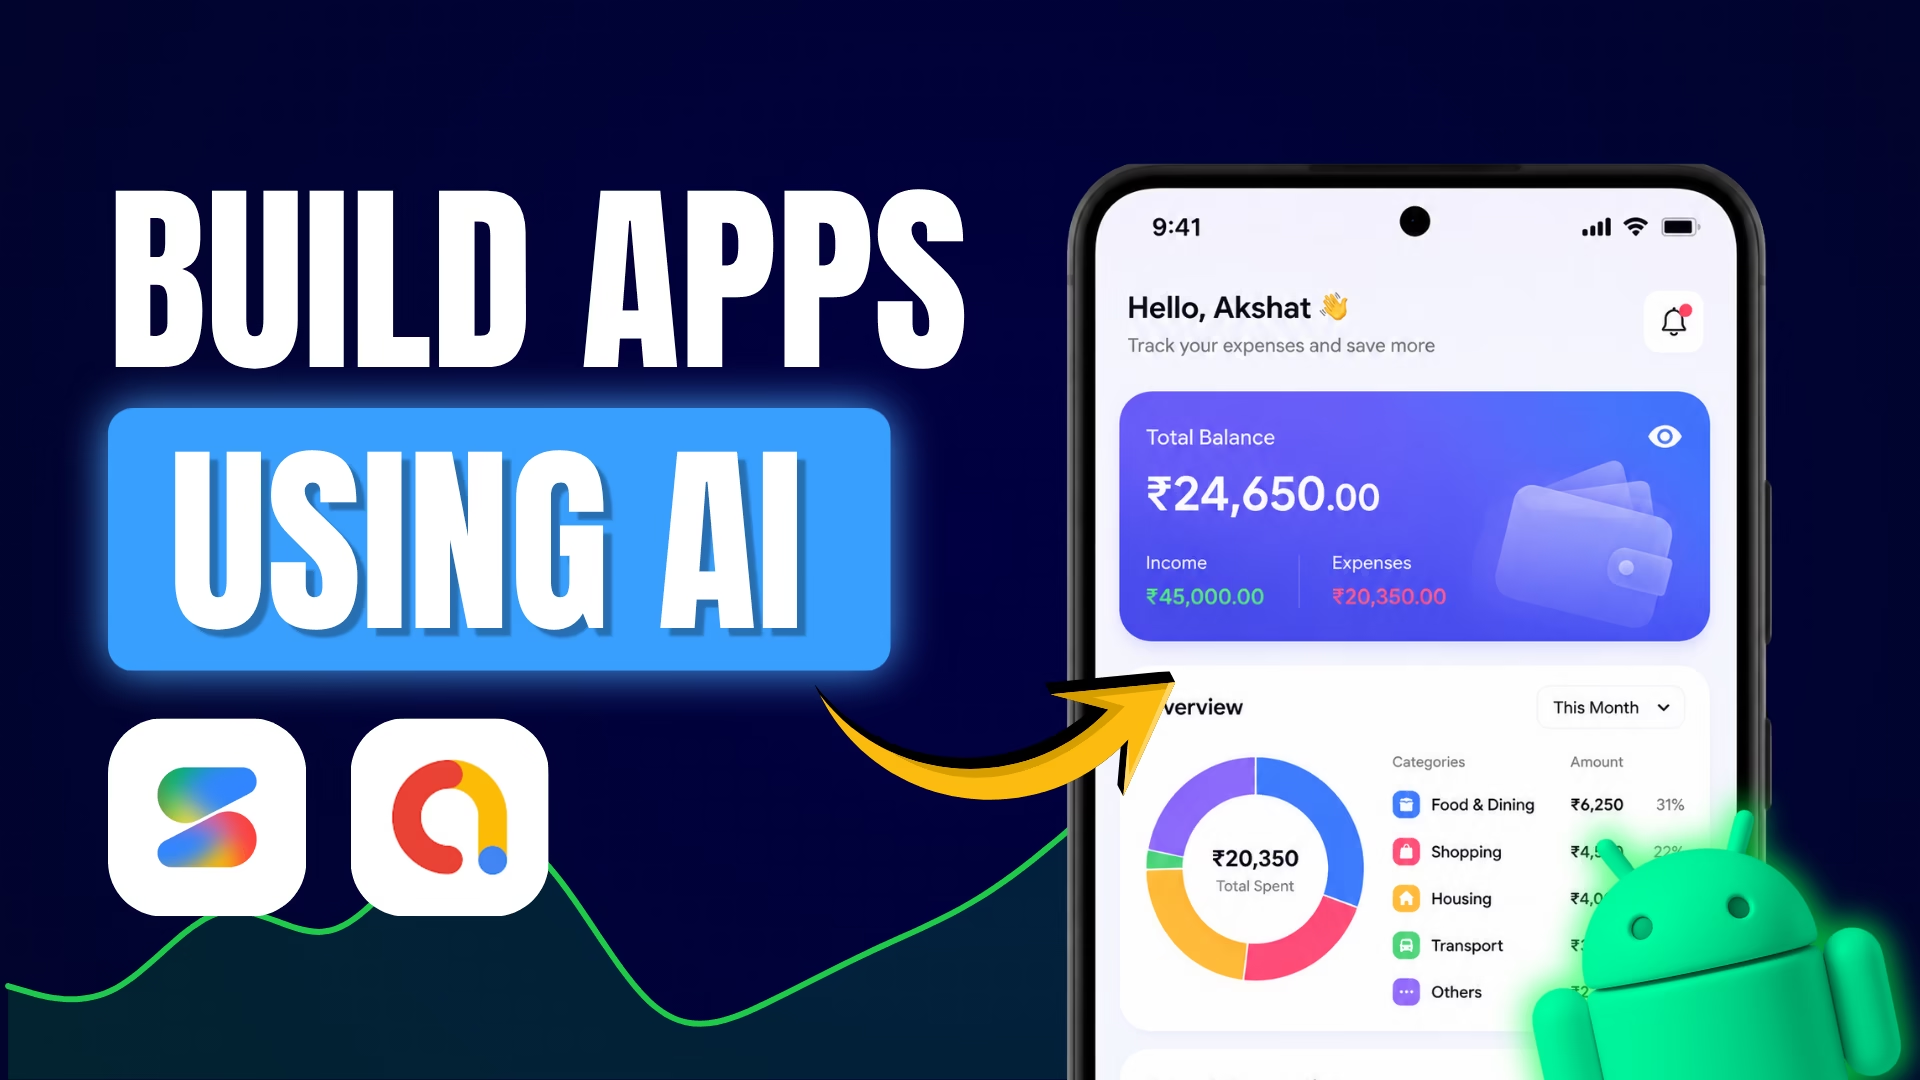
A simple budget tracking app recently sold for $1,000. With just 13 sales, it earned about ₹11,50,000. That is a huge amount of money for a tool that does basic tasks. Most people think you need a computer science degree to make this kind of money. You don’t.
You can now build a full-stack app using AI without writing a single line of code. You don’t need to spend money on expensive software or hire a team. This guide shows you how you can create and monetize your own budget tracking app.
Creating PRD
Before you touch any code, you need a plan. You can’t just tell an AI to “make a budget app” and expect a professional result. You need to analyse what already works.
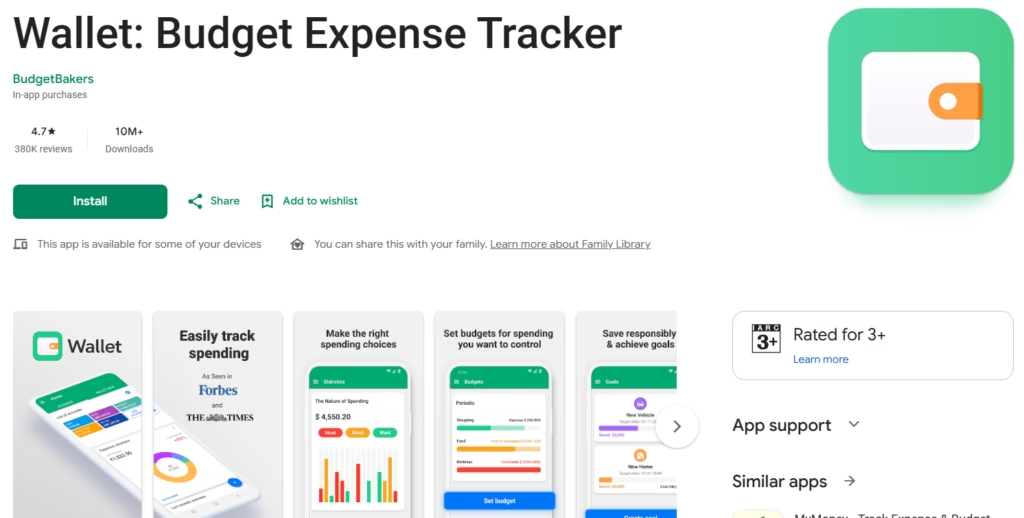
Start by picking a target app you want to clone. In this case, we are using a budget planner. Take screenshots of every single screen in that app. These images will act as your visual guide.
Next, use ChatGPT to create a Product Requirements Document (PRD). A PRD is a list of every feature, button, and screen the app needs. Upload your screenshots to ChatGPT. Ask the AI to list the screen-wise features and the colour palette based on those images. The AI will tell you exactly what needs to be built, which saves you from guessing.
But if you want an easier approach, you can copy the prompt that can generate a PRD directly from below. You only have to edit your app name as well as the package name in this prompt and paste it into the AI you would like to use. I would recommend using Claude AI for generating a PRD.
Create a concise, implementation-focused Product Requirements Document (PRD) for a Production ready Android budget management app with AdMob monetization support.

App Details:

* App Name: [YOUR_APP_NAME]
* Package Name: [APP_PACKAGE_NAME]
* Platform: Android
* Database: Room Database (offline local storage)
* Internet Usage:

  * Core app functionality must work completely offline
  * Internet only required for AdMob ads

The PRD should focus ONLY on development-relevant requirements for building the app. Avoid unnecessary sections like market analysis, future scope, business plans, stakeholder details, etc.

Include these sections:

1. App Overview

   * Purpose of the app
   * Main financial management features
   * Offline-first privacy-focused design
   * Lightweight and beginner-friendly experience

2. Core Features
   Include concise implementation details for:

   * Dashboard/Home
   * Add/Edit/Delete transactions
   * Income & expense tracking
   * Categories management
   * Monthly budget limits
   * Transaction history
   * Search & filters
   * Charts/statistics
   * Savings goals
   * Recurring transactions
   * Dark mode
   * Local backup & restore
   * PIN/App lock
   * Notifications/reminders

3. AdMob Monetization
   Include implementation requirements for:

   * Google Mobile Ads SDK integration
   * Banner ads placement
   * Interstitial ads triggers
   * Rewarded ads (optional)
   * Ad loading strategy
   * Offline handling when ads are unavailable
   * User experience rules (avoid aggressive ads)
   * Privacy considerations

4. Required Screens
   For each screen specify:

   * Purpose
   * Main UI components
   * User actions
   * Navigation behavior

5. Database Design
   Include entities/tables and key fields:

   * Transactions
   * Categories
   * Budgets
   * SavingsGoals
   * RecurringTransactions
   * Settings

6. Technical Requirements
   Include:
   * Room Database setup
   * Other important technical requirements related to the app

7. Functional Requirements
   Include practical logic requirements:

   * Input validation
   * Budget calculations
   * Expense summaries
   * Recurring transaction automation
   * Backup/restore behavior
   * Reminder scheduling
   * Ad loading fallback behavior

8. Non-Functional Requirements
   Keep concise:

   * Performance
   * Security
   * Reliability
   * Offline usability
   * Battery efficiency

Additional Instructions:

* Keep the PRD concise and straight to the point, enough for AI code generation.
* Use structured headings and bullet points.
* Focus on realistic Flutter implementation.
* Do not include unnecessary documentation sections.
* Ensure monetization feels natural and non-intrusive.
Creating the app
Now that we have our PRD (Product Requirements Document) ready with us, we will go to Google AI Studio’s website. If you don’t have an account on that website, then create one. After you are done creating the account:
- Select the ‘Build an Android App’ option.
- Paste the PRD that the AI has generated for us in the previous step.
- Click the ‘Build’ button.
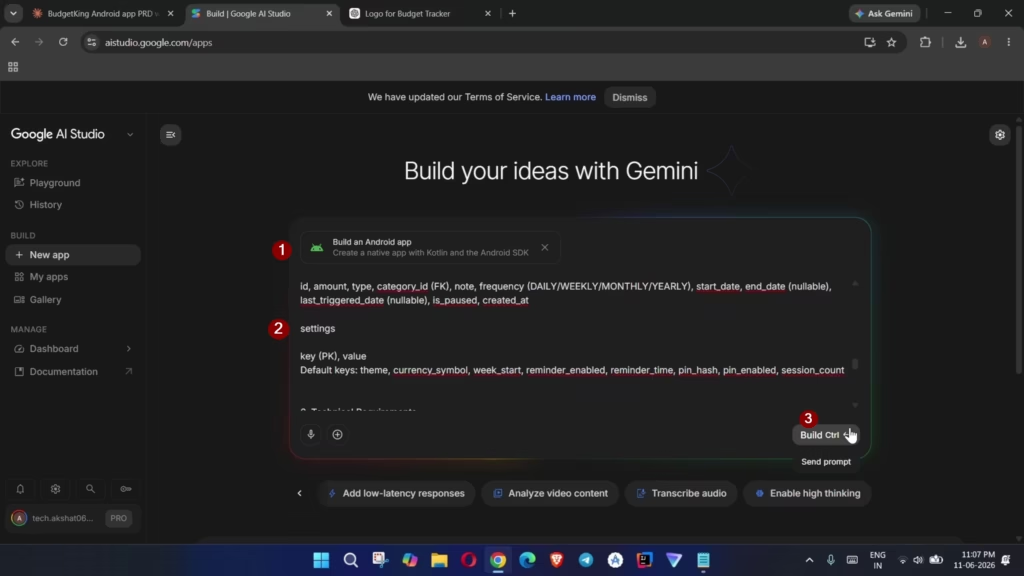
Then, it will start building your app. It can also ask for the type of app design you want to choose, so make sure that you choose the design that suits well with what you want. Please note that the app creation might take some time. For me, it took around 8-9 minutes. The actual duration may depend on the type of app or the requirements you have put while writing the PRD. So please be patient while the AI is building your app.
Once the app is built, you will see the app preview directly within the Google AI Studio website. In case you want to test the app on your physical device, then you can click on the ‘Install’ button at the top right corner and follow the steps that are shown when you click that button.

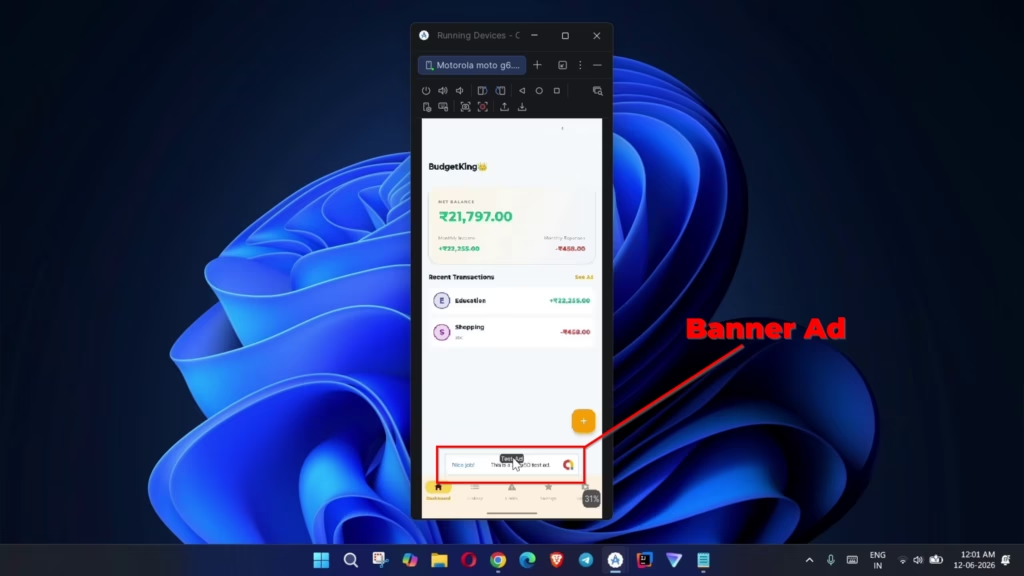
Monetizing the App
To monetize the app that we have just created using Google AI Studio, we will be using Google AdMob. It is a platform that is used to place ads in apps made for mobile devices. So, in case you don’t have an AdMob account, kindly create one. After you have created an account. You will have to create an app inside the AdMob dashboard and later create the Ad Unit IDs.
For this app, we will only use Banner Ads & Interstitial Ads. After you have both the ad id’s, we will have to write a simple prompt inside the AI Studio website that you can copy from below, replace the credentials with the actual data and hit enter.
Implement AdMob Ads inside the app.
My App ID = [REPLACE_YOUR_APP_ID]
Banner Ad ID = [REPLACE_YOUR_BANNER_AD_ID]
Interstitial Ad ID = [REPLACE_YOUR_INTERSTITIAL_AD_ID]
After doing all this, it will start adding the ads inside the app, and after it has finished generating, you have to install the app again on your device, and the ads should show.
Changing the App Logo
Currently, the app will use the default Android app logo. If we have to change that logo, we have to again write a simple prompt as shown below and also import the logo that we want our app to have inside the Google AI Studio.
Change the app logo to the image I have attached with this prompt.After that, again hit enter, and it will start changing the app logo. After the AI has completed the response, you will be able to see the changed logo of your app on your device.
Final Thoughts
Building apps is no longer limited to experienced developers or large teams. With modern AI tools, anyone can turn an idea into a working Android application in a matter of minutes.
The budget tracking app in this guide is just one example. The same workflow can be applied to habit trackers, fitness apps, calculators, productivity tools, note-taking apps, educational apps, and countless other ideas. The key is not simply generating an app, but identifying a problem people are willing to pay to solve.
That said, publishing an app is only the beginning. To generate downloads and revenue, focus on improving the user experience, collecting feedback, fixing bugs, optimizing your Play Store listing, and continuously updating the app.
AI can dramatically reduce the time required to build software, but successful apps still come from understanding users and delivering value.
So pick an idea, create a PRD, let AI handle the heavy lifting, and launch your first app. The next successful app on the Play Store could be yours.